Its fairly simply quilted but thanks to Debbie from Jerusalem Notes: Fiberwork from Debbie's comment I did add these little feathers in the light triangles. I auditioned several patterns for this space and wasn't happy with any until this one...funny little feathers aren't they. Actually for some reason they make me think of crabs (and scorpions-which isn't such a nice thought so I'm trying to forget that one!).
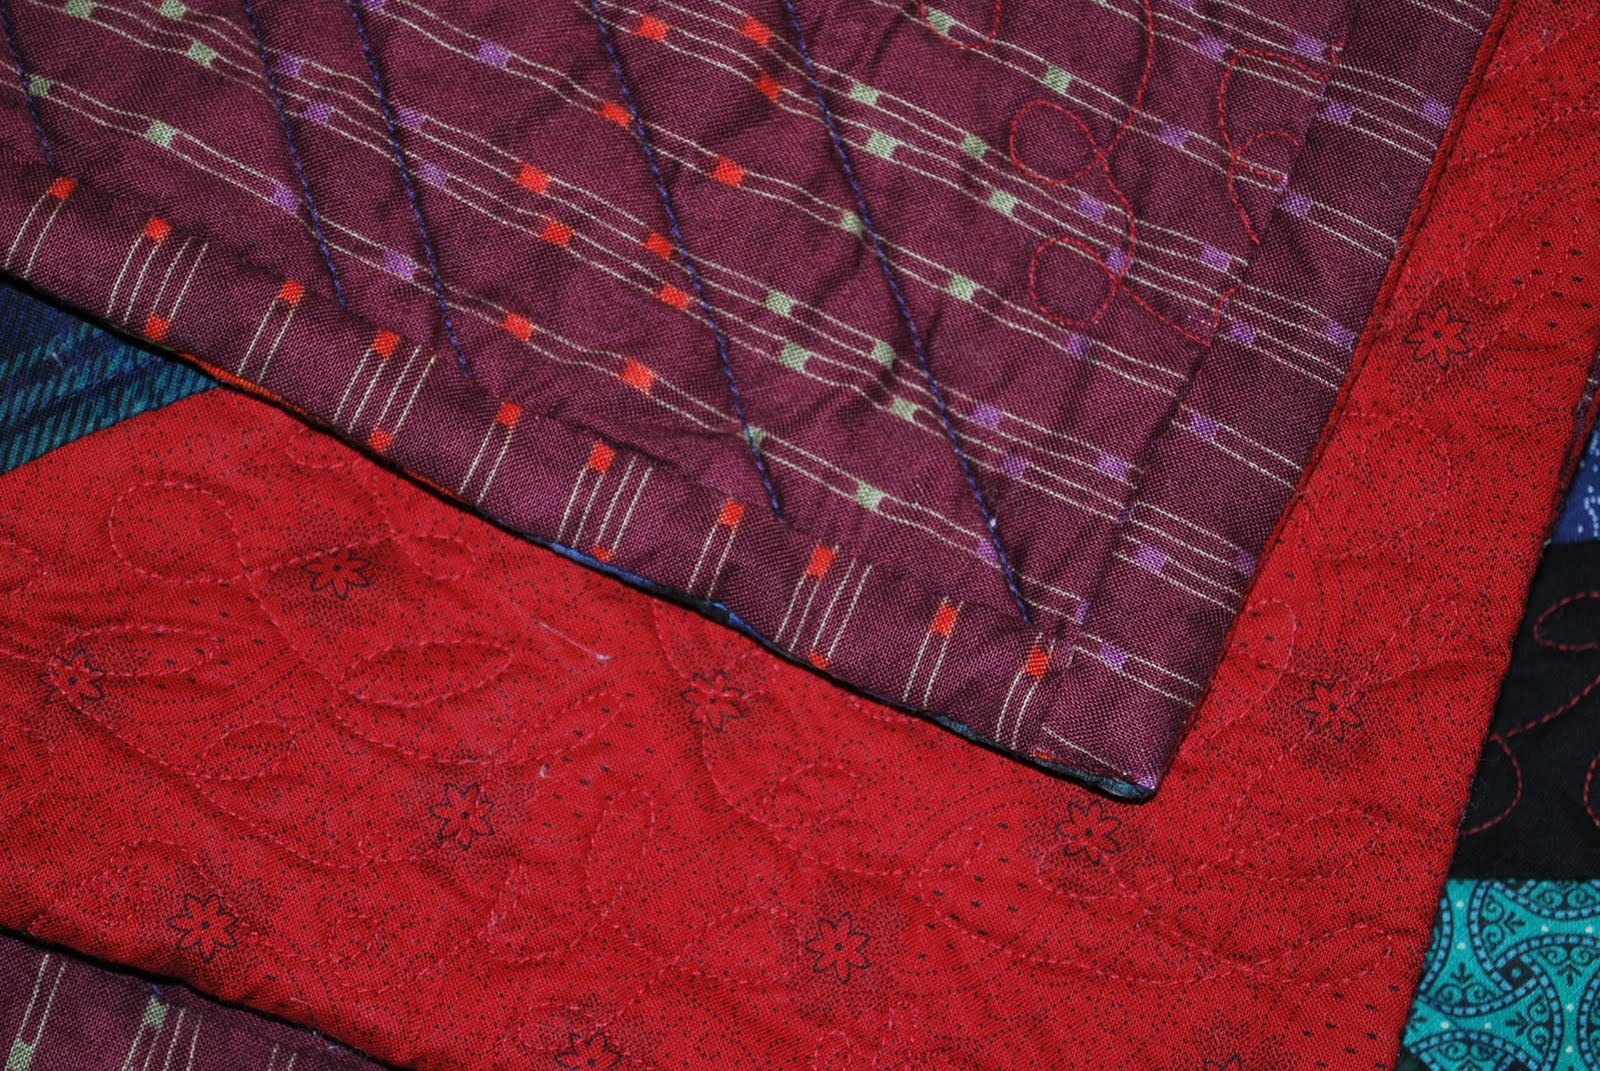
 I just had to share the back...a few years ago a friend gave me several sample panels of barkcloth from her upholstery fabric store. I always knew I'd use them on the back of a quilt and have been waiting for just the right one. I just love contrast of the vibrant back with the very quiet front of the quilt. You can actually see the quilted cable in the border better from the back than the front.
 I wish I could just free sew feathers like I see others do but I'm not there yet...so I used a stencil and my favorite washable graphite marker from Morgan Quality Products...I actually own two of these because if I ever lost one I'd go nuts!
 A special thanks to Karen of Quilts,etc....I tried her machine zigzagging of quilt batting pieces and it worked like a dream. You can see the two batts are perfectly abutted together with no overlapping at all and this was so much faster than my old by hand way!
 Now its time to give you my report card for this Challenge...I'm a very generous marker and I give myself a B+. I had 3 projects listed:.
1. Finish the String Quilt-done!
2. Finish the UFO 9-Patch top and quilt it-done!
3. Quilt my Black ,White and Red log cabin quilt - I've taken the top and backing fabric out of the closet...that's it-all I have to report.
So why am I giving myself a B+ instead of a C...well I did some extra credit work! :) I finished the two pillows that had been hanging around for quite a while!
Now I'm hopping over to Tallgrass Prairie Studio to see all the fabulous finishes for the Spring to Finish Challenge!