Here's a close-up. I machine quilted loopty-loops in the red areas and on the sashing and straight line 1/4" outline style quilting on the strings.
 All folded up and ready to go to its new home...DS's apartment!
 Here's a close-up of the Knife Edge finish I used....I didn't want a black binding and I had no red fabric left so I decided to finish the quilt this way. Its a technique I learned from an unknown quilter...the quilter that made my vintage red and yellow tumbling blocks quilt and I thought I'd share with you how I did it.
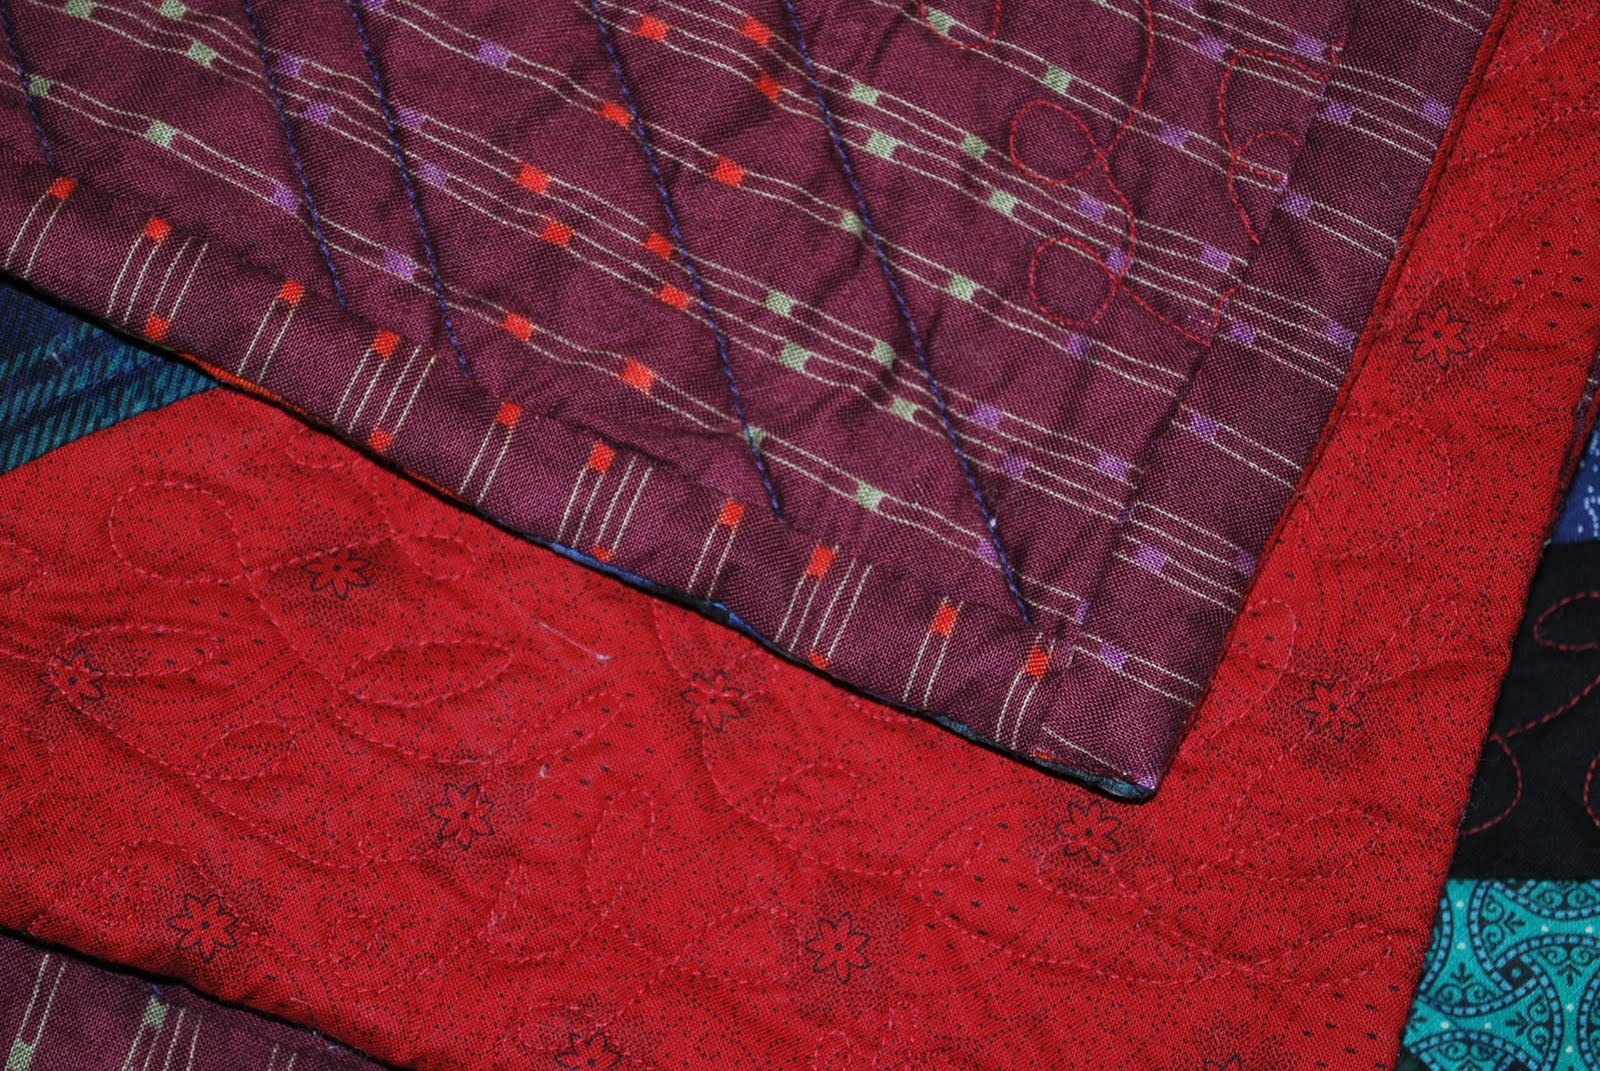 Putting on this binding is like adding another border to a quilt...it is not a continuous binding.
I prepared my binding strips for the top and bottom of the quilt exactly the same way I would a border-only its a 1" border!
 You can see the binding pinned onto the quilt...notice the pressed down edge-I pressed 1/4" of the long edge of the binding strip for ease when sewing it to the back.
 Binding machine sewed on with a 1/4" seam.
 I then pulled the entire binding to the back (including the seam allowance-the whole thing!) and pinned.
 Here you can see how it looks from the front as I pulled the binding to the back and pinned. Once completely pinned, I sewed the top and bottom bindings to the back of the quilt by hand-the whole idea is that nothing shows on the front so you kind of have to sew the binding to the back by hand.
 Now for the side bindings. They're almost exactly the same...the exception is that I cut them 1/2" longer than I would have if they really were a border for the quilt so I could fold under 1/4" of the short sides. This way there will be no raw edges when I finish the binding.
 Next I pinned the side binding on....you can see that the top binding is completely finished and I've aligned the short folded edge of the new binding to the finished edge of the quilt.
 View of side binding sewn on from the front of the quilt...
 View of side binding sewn on from the back of the quilt. (See how I sewed over the finished binding.)
 I then pulled the side bindings completely to the back, pinned and sewed by hand...and that's it-a machine sewn (well, mostly) knife edge finish!
While not my regular binding choice, I have used this on other quilts when it just seemed the perfect finish.
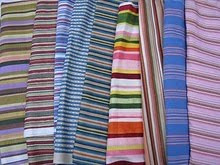
This is my second finish for the String Quilt Challenge and my first finish for the Spring to Finish Challenge 2010.
I'm also linking to Finished for Friday and Sew and Tell. Hop on over and see all the wonderful finishes!